Getting started in Rust
Waking up
...and here is where it all begins. Naked and afraid without a reality show based on your adventures. Rust is brutal and unforgiving, no tutorial, no directions, just a world to explore and survive in. You will have to find food, water, and shelter. When you spawn in Rust for the first time, you find yourself on a beach with nothing but a rock and a torch. Let’s take a look at those two tools.
Starter tools
The Torch
Ah yes, the number one reason for premature death in Rust. This is because the nights in Rust are dark. Not “a little dark” but REALLY dark. So if you are running around with a lit torch, you basically make yourself the only visible target in the area. Your death will be quick. Because of that you should only use it indoors or when it is absolutely necessary.
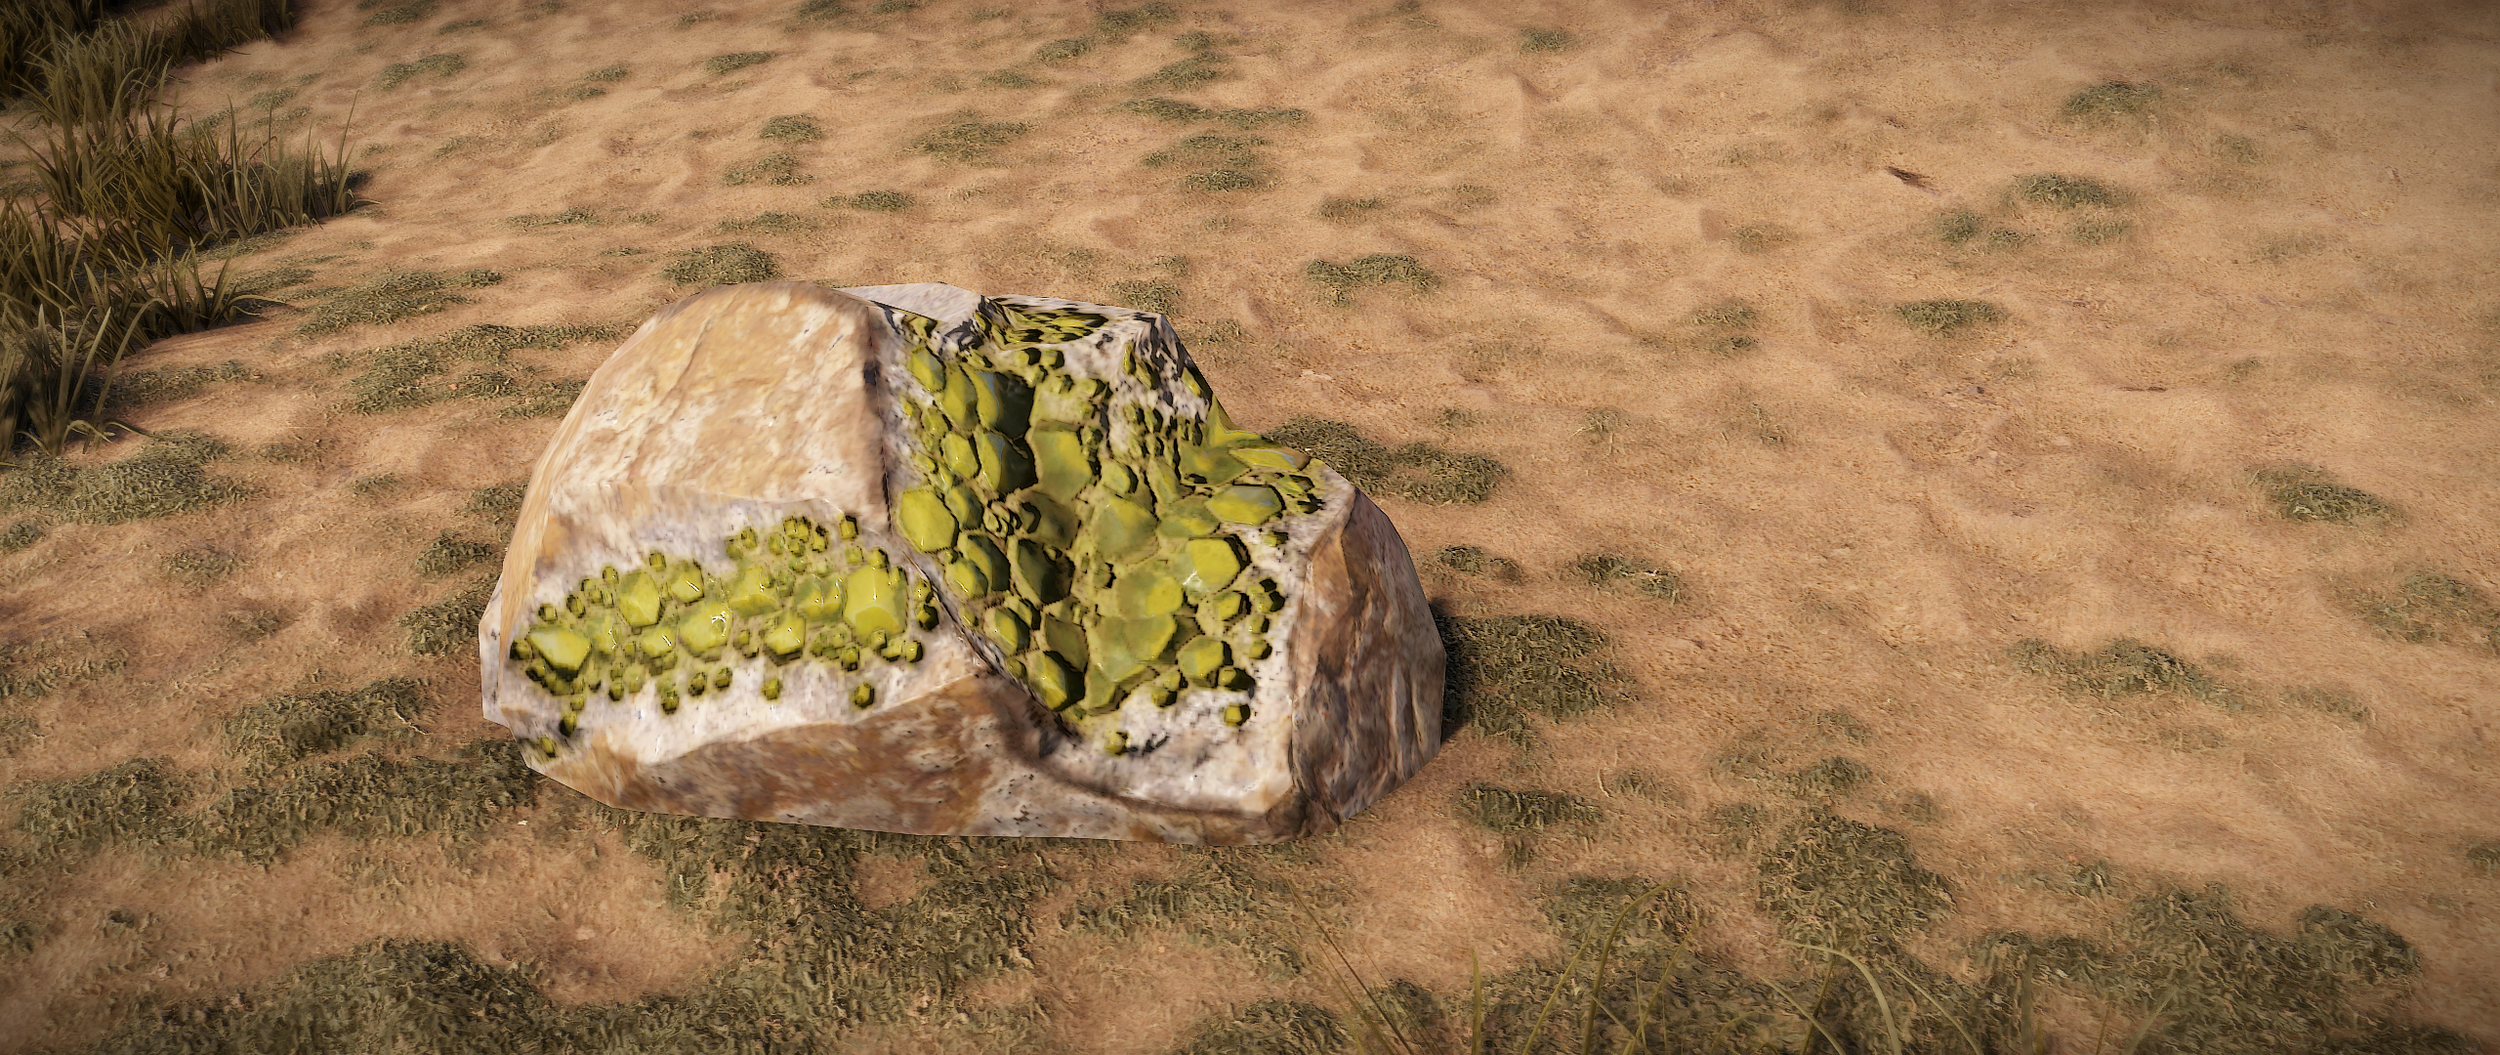
The Rock
No not Dwayne Johnson, an actual rock, your first tool and weapon, and a truly versatile one. You can use it as an axe, pickaxe or melee weapon. You can even throw it. It is important to note though, that it is not very good at any of those actions.
The Map
You also have a map. To look at it, press G. It will show you your current location as well as the position of team-members if you have any. The team leader can also mark important objectives for the team to see, each player can also mark the map but it will only be visible to them if they are not the team leader.
Vitals
In the bottom right corner of your screen you can see your health bar, food bar and thirst bar. If the food or thirst bar go below 40, you will start to lose health. If the life bar goes to zero, you will die. To heal, you need to get your thirst bar over 40 and your hunger bar over 100.
Equipment and Gathering
As you can see, your equipment is not really overwhelming yet. To get better tools, start collecting wood and stone. There are two ways to do this:
1. You can pick up small quantities (50) of wood, stone, sulfur ore and metal ore from the ground.


2. You can chop down trees, stone nodes and ore nodes with your rock. As you might notice, a red X will appear on the tree after you hit it the first time. If you hit that, you will get done faster. It’s the same for nodes, just not with an X. Instead, you will see a sparkling spot.


You will also need cloth, which you can obtain by picking up hemp plants.
As you will notice, farming stuff with the rock is not really a matter of seconds. Your primary goal should therefore be to get better, more specialized weapons and tools, such as:
Stone Hatchet
Crafting Cost: 200 wood, 100 stone
The stone hatchet chops down trees a lot faster than the rock. It is also better at chopping up dead animals (or people).
Stone Pickaxe
Crafting Cost: 200 wood, 100 stone
The stone pickaxe is good for farming stone, metal ore and sulfur ore. It’s also a better weapon than the rock.
Rust is a brutal game, so you will need something to defend yourself. There are two main weapons at the start:
Wooden Spear
Crafting Cost: 300 wood
You can either throw this spear or use it to poke holes into something. Be careful when throwing though, since whatever you threw it at might decide to run away with it or even throw it back at you.
PRO TIP: Usually, attacking an animal with a melee weapon isn’t the best idea. There is a trick though: If you manage to make an animal follow you into shallow water, it will become very slow. Since the poking range of the spear is greater than the attack range of all animals in Rust, you can safely kill it without getting hurt.
Hunting Bow
Crafting Cost: 200 wood, 50 cloth (+ 25 wood, 10 stone per 2 wooden arrows)
You have to get good with this weapon. It is THE main weapon for the first day in Rust. It shoots arrows at short to medium distance. You can kill most animals with 3-4 shots; only bears are quite dangerous because they take 8 hits before going down. They are also very aggressive and will try to kill you, so try to get to a safe place (a high rock, shallow water or any kind of building block) before shooting at it.
As soon as you have killed your first animals/people, chop them up using your tools (or your rock if you don’t have any other tools yet). Try to get at least 30 bone fragments. You can also crush human skulls to get 20 bone fragments by selecting them in your inventory and then pressing “Crush skull”.
Bone knife
Crafting Cost: 30 bone fragments
The bone knife is a great tool for chopping up dead bodies. It gives you maximum resources. Always try to get it as soon as possible, since chopping up bodies with stone tools or your rock will waste some of the bodies resources.
By killing animals you will also obtain some other resources, namely:
Leather: Used to craft clothes
Animal fat: Used to craft Low grade fuel
Cloth: Used for crafting bows, sleeping bags and clothes
Bone fragments: Used for crafting bone knives, bone clubs or bone armor
Building
Now that you have your basic equipment, it’s time to settle down.
Base location
For your first base, you are looking for an area with a lot of resources, mainly wood. If there are no trees, go somewhere else, because you will need a lot of wood. You will also need stone, so don’t forget about that either. But there are some other things you should have in mind as well:
Climate: If you are planning to build in the snow biome, have in mind that it is quite cold there during the day and frickin’ freezing during the night. To stay alive during that time you will either need to stand next to a fire or wear a lot of clothes.
Roads: Settling next to a road enables you to farm barrels and loot crates on the street. That will be very helpful when you are trying to find new stuff and progress in the game. It will also attract other people though, so my advice would be to build at a spot that is close to the road but not visible from there.
Ocean: Same as with roads, you can farm barrels and crates on the ocean. You will need a boat and low grade fuel for that.
Monuments: Those are relics of past glory on the island. Examples would be the Power Plant, Launch site or Oxum’s gas station. You can find them on your map. They provide you with a lot of loot but also with potentially unwanted attention since Monuments are natural hotspots in Rust. Some of them might also be irradiated, so if you are not sufficiently clothed and you hear the ticking of a Geiger-Counter, turn around, or you will die from radiation. The main thing that monuments have to offer though is a Recycler. It enables you to grind down items and components to gather raw materials such as scrap, metal fragments and cloth. This is VERY important, especially later in the game when you need scrap to research stuff.
Now that you have decided on a location, you will need the following.
Sleeping Bag
Crafting Cost: 30 cloth
By placing a sleeping bag you set your respawn location. When you die, you can choose in which sleeping bag you want to wake up, or if you want to respawn in a random location. Upon placing, you will have to wait 5 minutes to be able to respawn there. This so called “bag timer” resets every time you spawn in it. If two sleeping bags are too close (<20m), BOTH sleeping bags will rest their timer when you spawn in one of them. So always try to keep a healthy distance between them. Place this sleeping bag somewhere around the spot you want to build at. Nothing is more annoying than farming up materials for your base, getting killed by a bear and then having to run across the whole map to get it back. Or to find you have already been looted.
Proceed to farm materials for the base. Your first base will probably be a 2x1 or a 2x2 (meaning 2x2 square foundations or 2x1 square foundations). It’s very important that it includes a triangle airlock at the entrance to prevent people from getting into your base when they kill you at the entrance.
3k wood and around 5k stone should be enough for the start. While farming you can already start to craft:
1 Tool Cupboard
3 key locks
2 doors
1 building plan and
1 hammer.
Tool Cupboard
Crafting Cost: 1000 wood
You place it inside your base and authorize on it. Only people who do that will be able to add/change things on your base. It also holds the resources necessary to upkeep the base. It will show you what materials it needs to keep the base from decaying. Securing it is very important, so I advise to secure it with a lock.
Key Lock/Code Lock
Crafting cost: 100 wood/100 metal fragments
If you are playing solo, the key lock is the way to go. You just put it onto your TC, doors or boxes, lock it and you are done. DON’T CRAFT A KEY! It is not necessary, but very dangerous since anyone who kills you will gain access to your goods. If you are playing with other people, try to get 100 metal fragments as soon as possible, place the code lock and lock it with a suitable code. Once you have entered the code, you don’t ever have to put it in again.
Building Plan
Crafting Cost: 20 wood
Used to build structures out of twig, which is very fragile. You should upgrade it right away with Hammer.
Hammer
Crafting Cost: 100 wood
You can use it to:
• Upgrade building parts by looking at them, holding right click and selecting the future grade
• Rotate building parts that have been placed in the last 10 minutes by holding right click and selecting “Rotate”. This is very important since all building blocks have a soft and a hard side. It’s much easier to break them from the soft side, so make sure the strong side is facing outwards. (Only relevant for walls, door frames, etc., since you can’t place a foundation or ceiling the wrong way round.)

Repair damaged building parts >30 seconds after they have been damaged.
Destroy building parts that have been placed in the last 10 minutes by holding right click and selecting “Destroy”. Only works if you already have a TC
Pick up items like furnaces, boxes etc.
Now go to the spot where you would like to build, equip your building plan and build your home by holding right-click, selecting what you want to build and then placing it. Note that you cannot build too close to monuments or other bases. Make sure to include an airlock. That means a triangle foundation with two door frames and a wall. If you open one of the doors you automatically block the other doorway, which prevents people from jumping in.
As soon as you are done (don’t forget the ceiling!), take out your hammer and upgrade everything to stone (or at least wood). Place the TC, Authorize and lock it. Place the doors and lock them as well. If you can, find another 30 cloth and place a sleeping bag inside as well.
Congratulations!
You have a base! Your next steps will be to to kill some animals, craft >50 lowgrade fuel and craft a furnace. Use that to smelt metal and get metal doors (This will make your base fireproof.) Also try to collect 50 scrap and make a Workbench Level 1. This will get you from the stone to the metal age, which will be handled in another guide. Until then: Have fun and try to stay alive!
~The Seb~